
Homemade Prickly Pear Cactus Juice
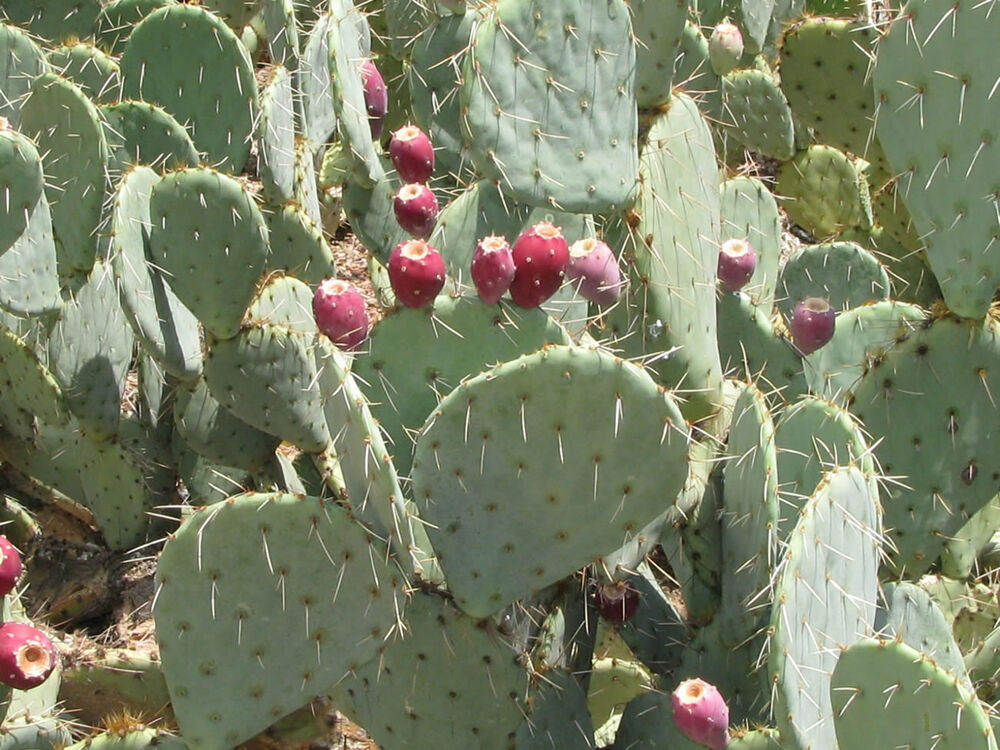
There are many benefits to moving to the beach. Not only do I get to wake up to the sounds of the ocean waves crashing, daily walks on the beach are a real thing. When we moved houses last year, I was delighted to move into a home with lush landscape and palm trees all around. Decorating the backyard are also these massive cacti with crowns of deep plum-colored fruit. I’ll be honest. I didn’t pay much attention to them until several months ago when I saw them at the market for $10 a pound with bottled juice for even more.
That was the day I made my own prickly pear juice. A quick scan online indicated that a menacing, arduous task was ahead of me but today, I’ve brought you my easy method that has always yielded me thick, delicious nectar. The most important thing to consider is avoiding the seemingly harmless glochids embedded all around the pear. They call it a prickly pear for good reason. Though the cactus pad is much more obvious with its spiky warning, these little baby spines will irritate you to no end if you have the misfortune of getting them lodged in your hands. It’s best to avoid them altogether and the best way I found is through some heavy duty tongs. Ripe pears will twist off easily and I plop each one down into a paper bag with them. I learned the hard way that plastic bags are best to be avoided.
After you’ve collected your fruit, it’s best to tumble them in warm water several times. Some folks like to burn off the spiky hairs but brushing each one down vigorously with a brush works well for me. If fresh prickly pears don’t grow in your area, don’t despair. They’ve been popping up everywhere and if you purchase them at a store, they’ve most likely already been prepped and are recipe-ready.

You can peel each fruit but for a deeper color {and, let’s face it- for convenience} but I like to blend up the entire pear. A trickle of water just to get the blender going will produce happy, vibrant juice that you strain in order to catch its hard seeds and voila! You can watch my friend Jenny over at Organically Blissful do this step by step and then apply it for not just this juice but any juice you want! Afterwards, you can feel good about making your very own, homemade prickly pear juice that’s as beautiful as it is delicious and nutritious. Prickly pear is anti-inflammatory, rich in antioxidants and vitamin c and can we just talk about that color? It’s insanely gorgeous and will be a wonderful addition to my true red velvet cakes later.
- 5 pounds prickly pear cactus
- ½ c water
- Optional: agave, honey, coconut sugar, etc.
- If using personally harvested fruit, handle with care. Always use tongs.
- Tumble the fruit in warm water several times.
- Take a firm bristled brush and scrub each pear well several times. Rinse and repeat.
- Blend the fruit in batches with water, using more for desired consistency.
- Strain 2-3 times in a fine mesh sieve or cheesecloth to collect the hard seeds.
- Sweeten to taste and enjoy and keep refrigerated.

‹ Fluffy Cinnamon Sticks Homemade Cinnamon Toast Crunch ›
i think i tried these before a while ago. i remember getting stabbed by prickers. hahaha
It seems that no matter how hard I try, I always get at least a few in my hand, haha.
I have made jelly with the juice but I have quite a bit left over,how can I store the unsweetened juice to last weeks/months?
Hi, Melissa! I personally pour mine into silicone molds to freeze and pop them out as I need them to put into smoothies. You could also try vacuum sealing them =)
I let the pears soak in water overnight. The thorns are then soft enough to handle by hand.